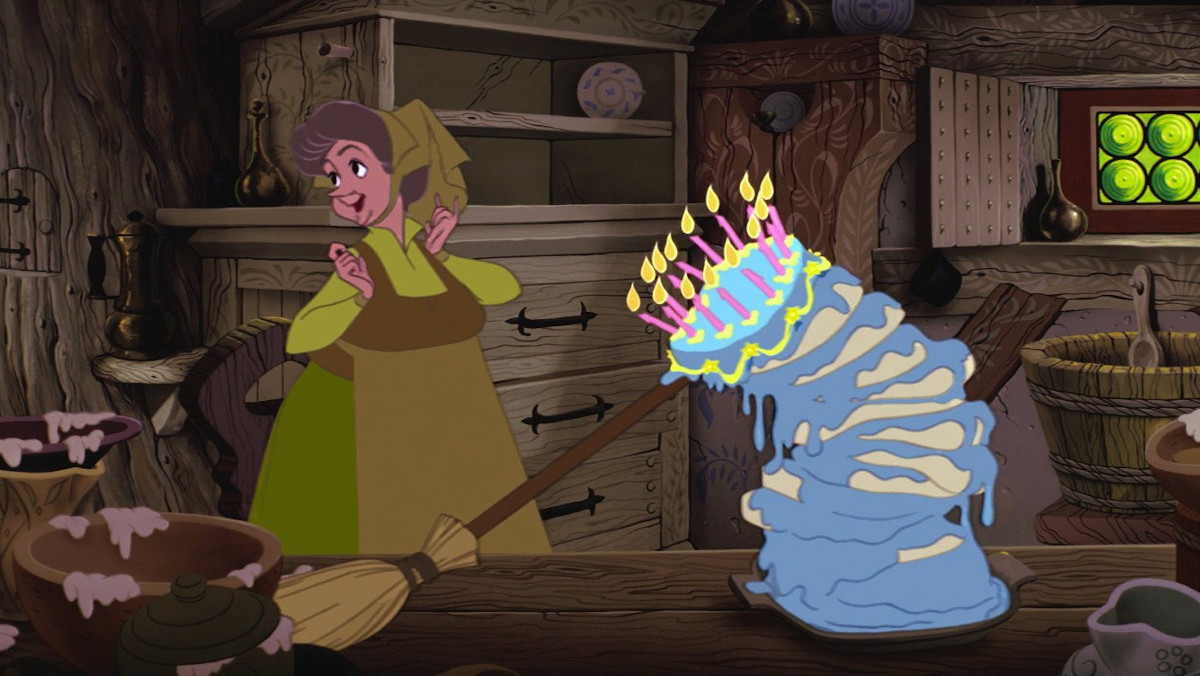
If there’s a cake in the movie, why not make it?
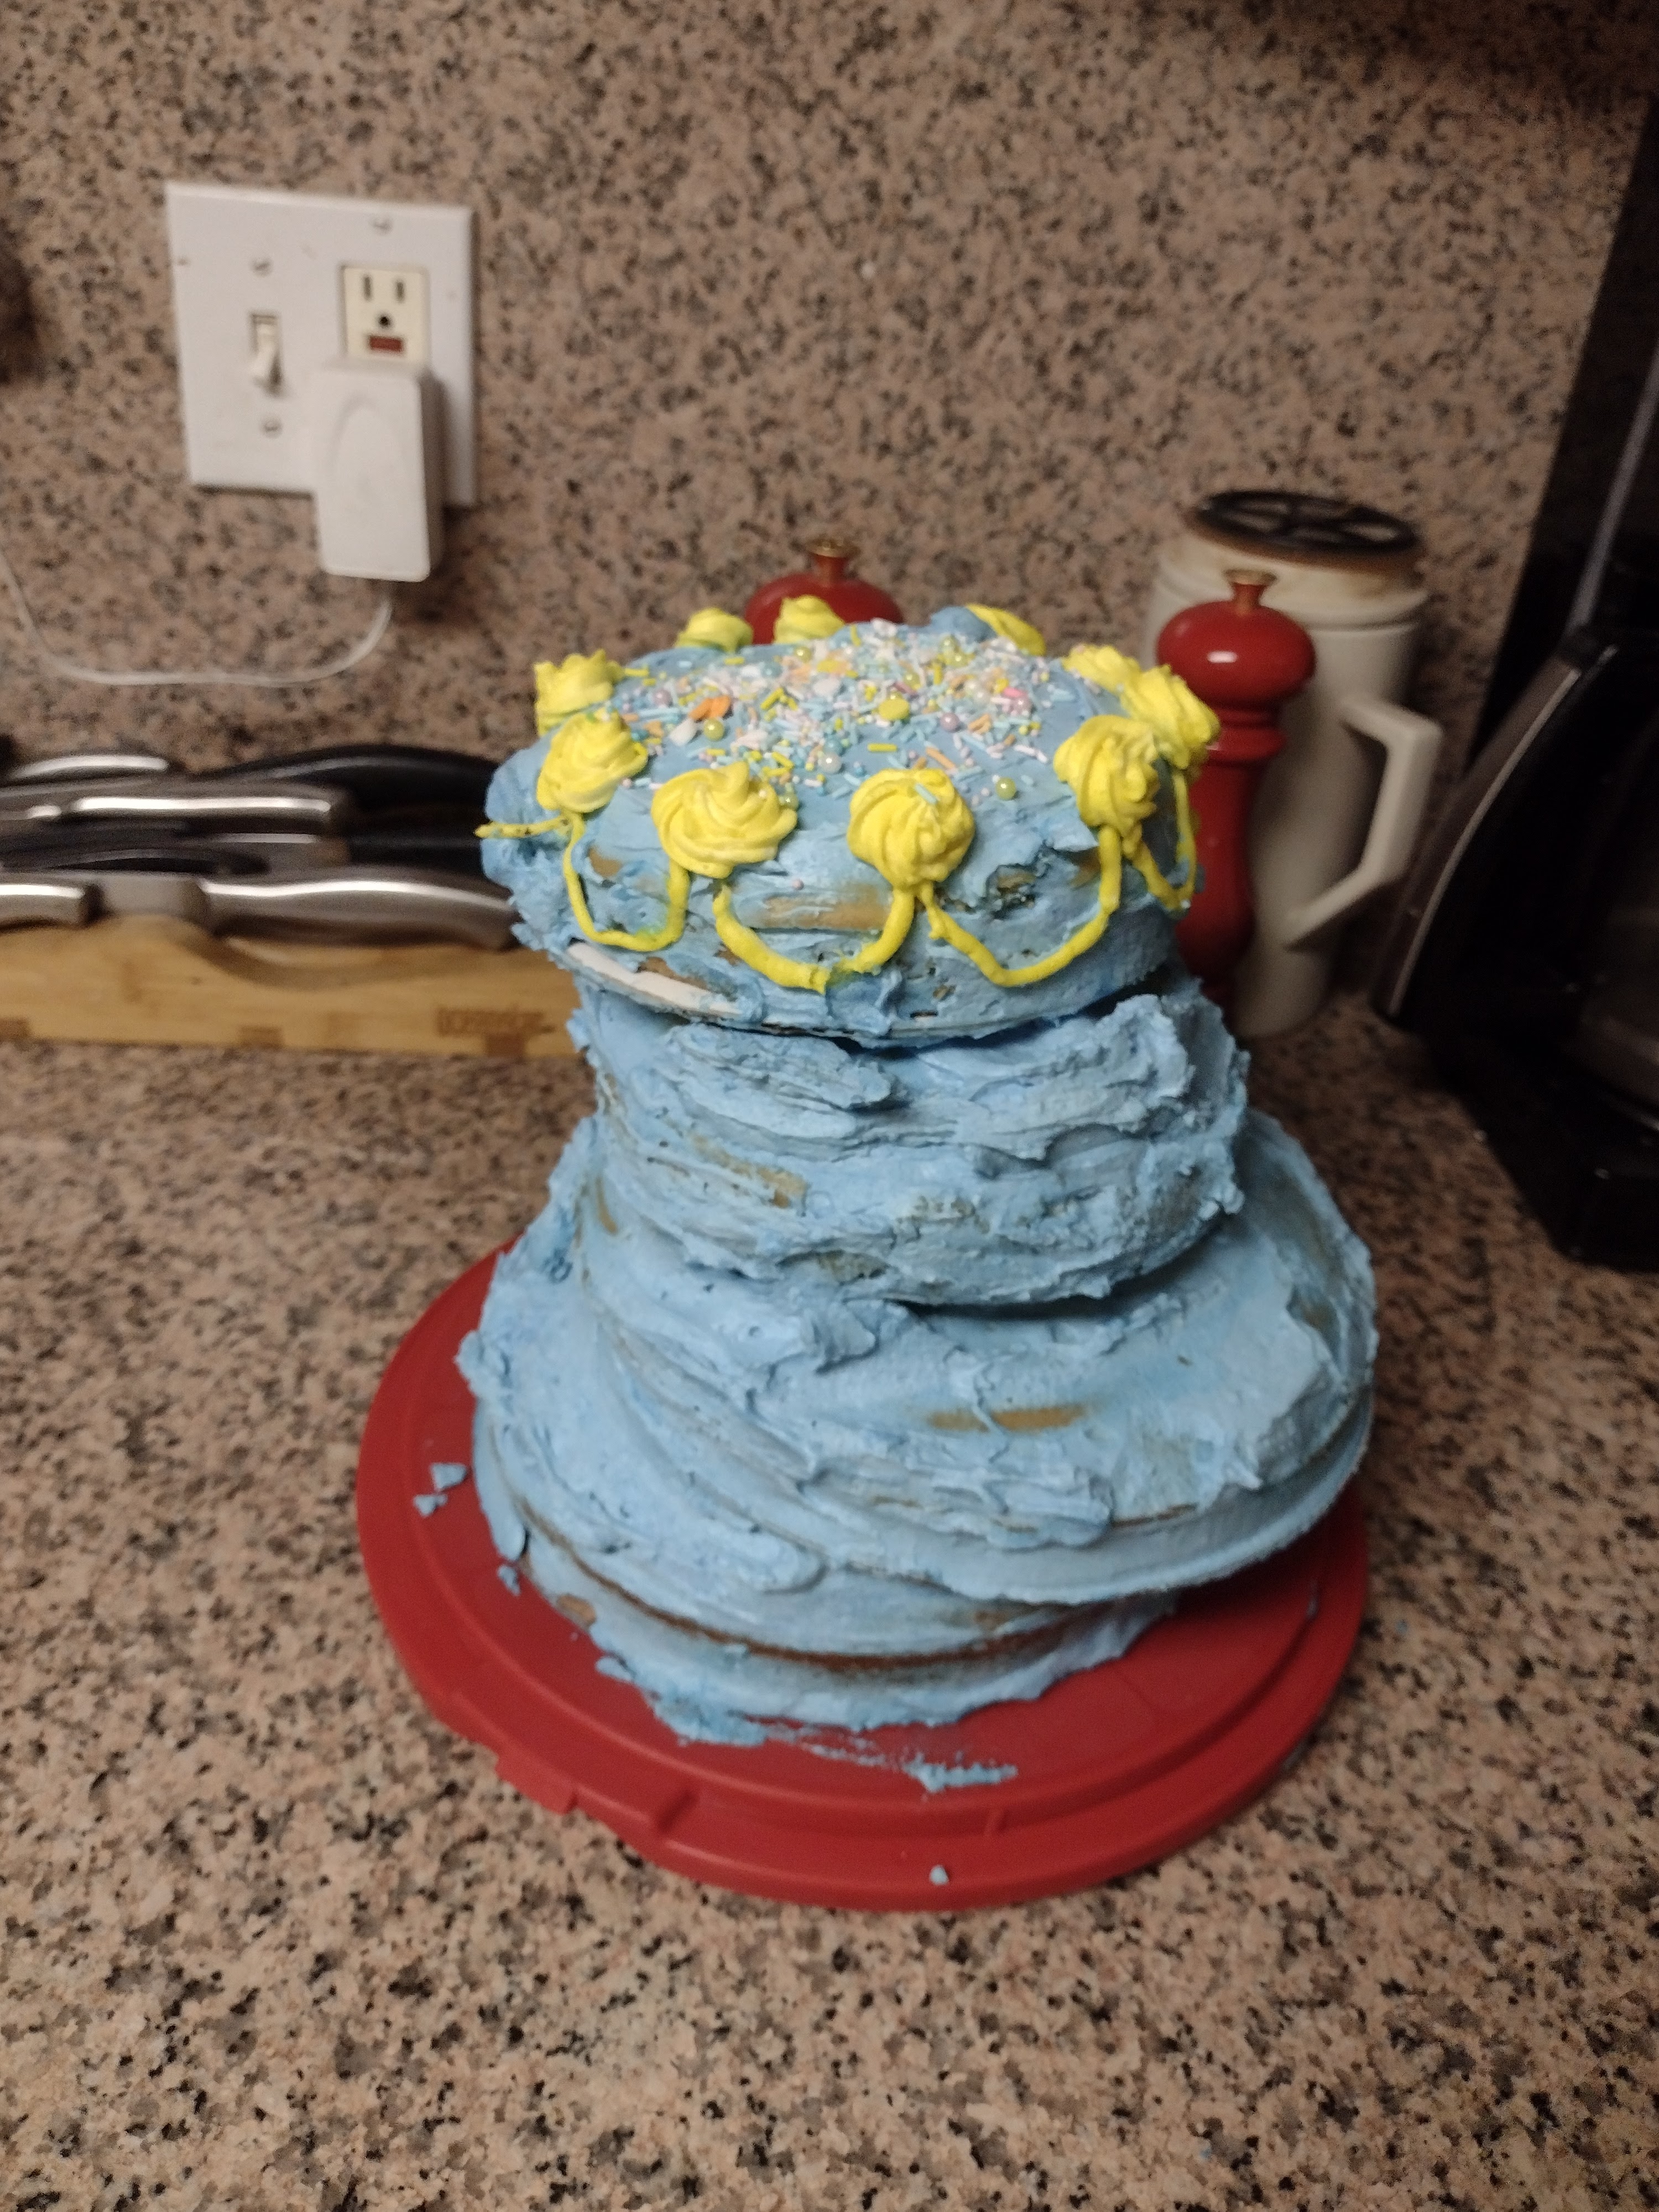
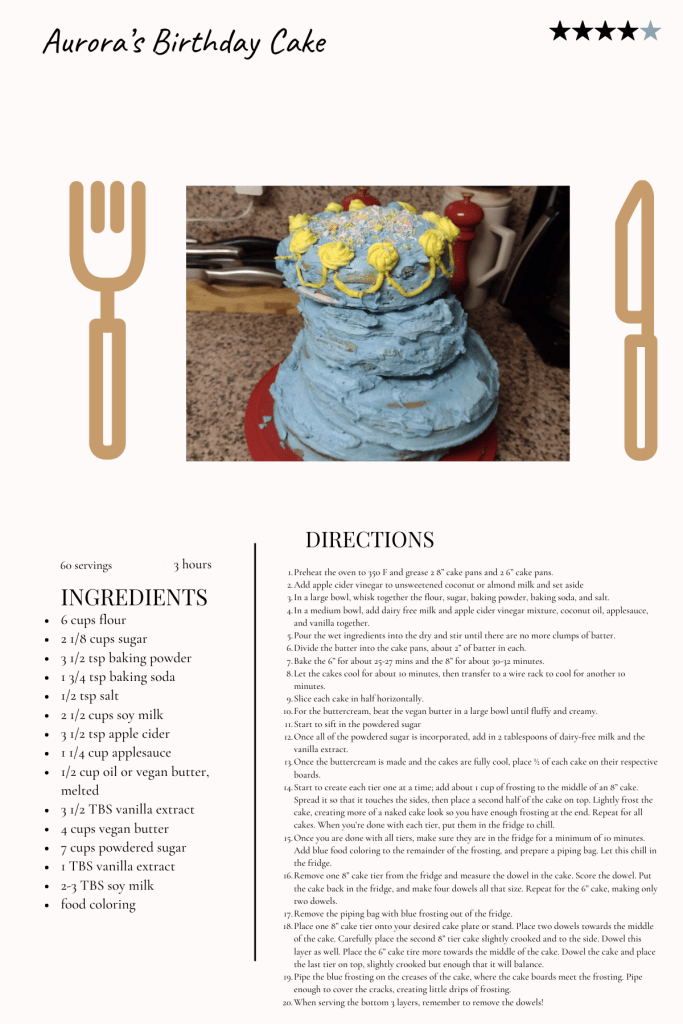
Okay, so this is a ridiculous amount of cake. The tiers aren’t large, but there are 4 of them. So, don’t panic when you see the quantities.
For this recipe, to make the cake, you will need:
- 6 cups flour
- 2 1/8 cups sugar
- 3 1/2 tsp baking powder
- 1 3/4 tsp baking soda
- 1/2 tsp salt
- 2 1/2 cups soy milk
- 3 1/2 tsp apple cider vinegar
- 1 1/4 cup applesauce*
- 1/2 cup canola oil or melted vegan butter
- 3 1/2 tbs vanilla extract
*the applesauce was used as an alternative to eggs, because supposedly it’s not great to use egg replacer for more than two eggs. However, using applesauce seemed to make the cake kind of dense and I think, given how much this recipe makes, you could be better off using egg replacer.
First, preheat the oven to 350 F, and prepare 2 8″ pans and 2 6″ pans. Combine the apple cider to the soy milk, and set it aside to curdle into a fake buttermilk.

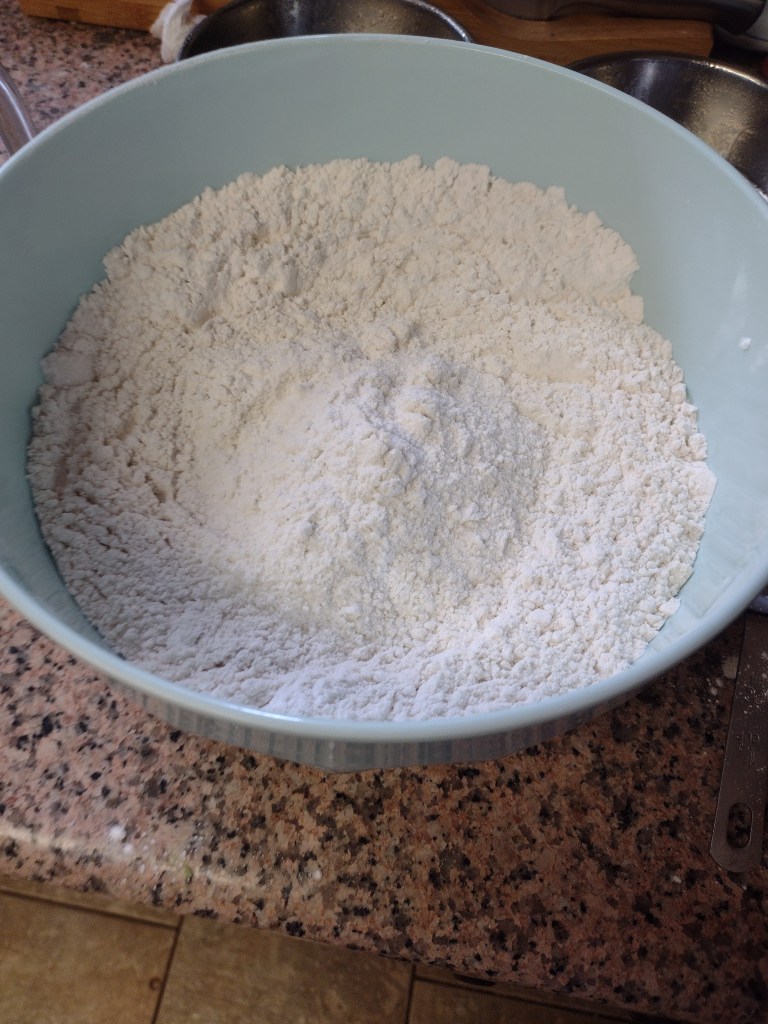
Next, in a large bowl, combine the flour, sugar, baking powder, baking soda, and salt. In a separate bowl, combine the “buttermilk”, oil/butter, applesauce, and vanilla together. Then pour the wet ingredients into the dry ingredients and stir until the batter is no longer clumpy.
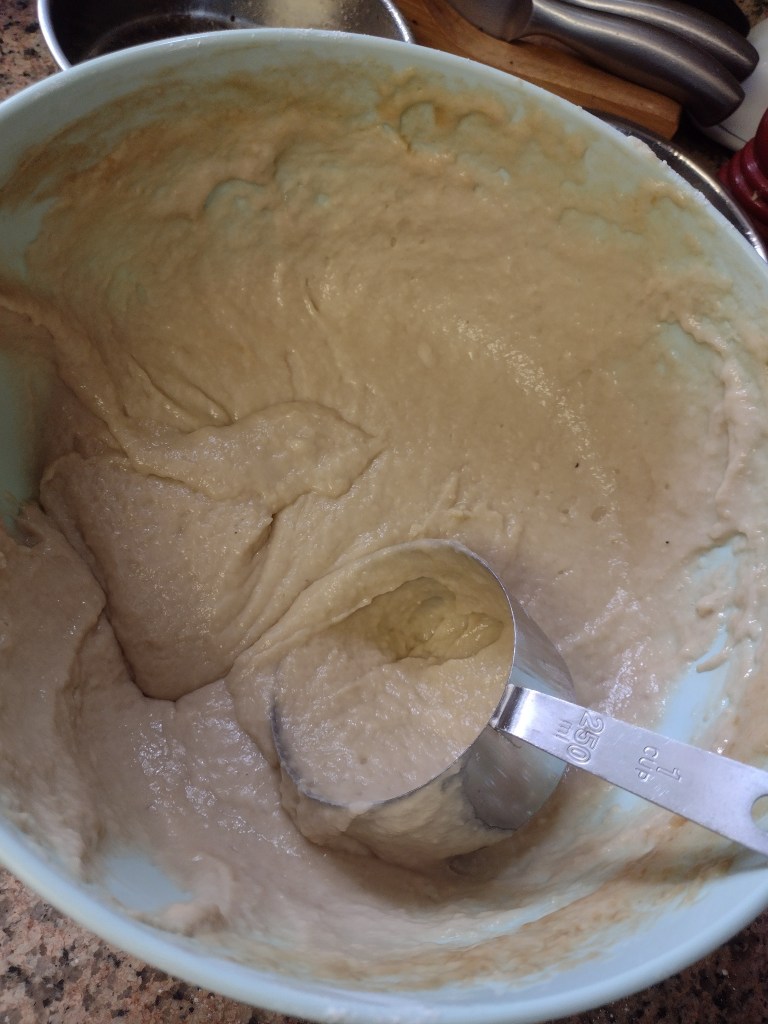
Split the batter into the cake pans, pouring about 2″ of batter into each. Then bake the 6″ for 25-27 minutes and the 8″ for about 30-32 minutes, using a butter knife or skewer to check if they are done. Let the cakes all cool for about 10 minutes in the pan before transferring to a wire rack.
While the cakes are baking, make the buttercream. You’ll need:
- 4 cups vegan butter
- 7 cups powdered sugar
- 1 TBS vanilla extract
- 2-3 TBS soy milk
- Food coloring
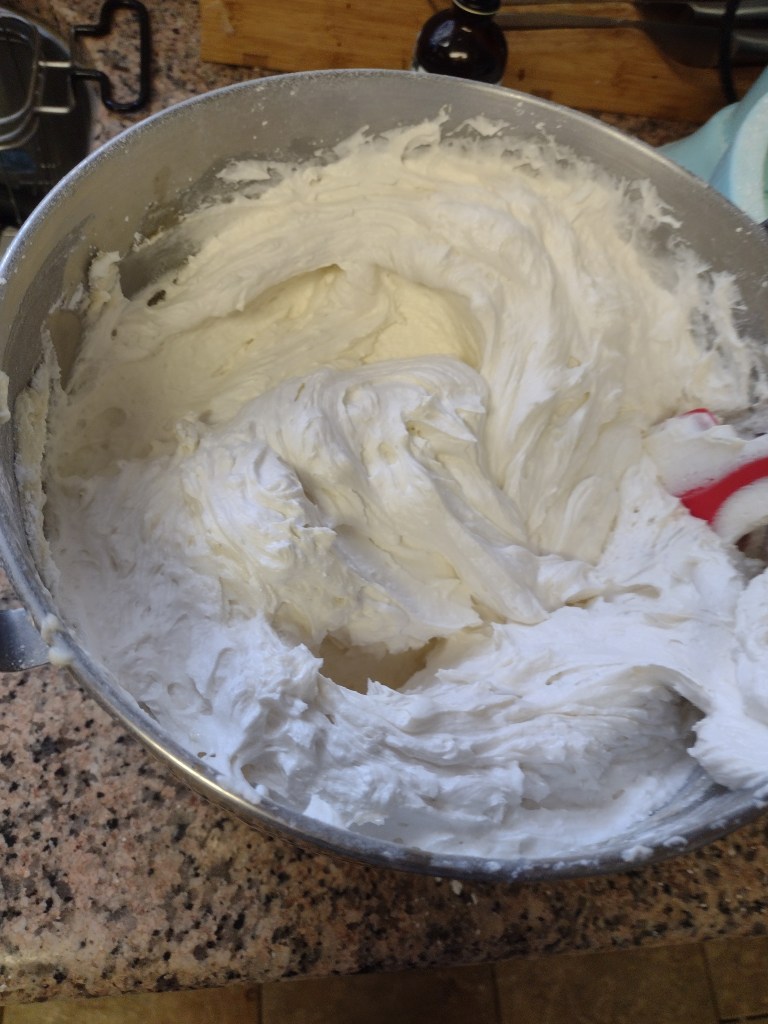
Beat the vegan butter in the bowl of a stand mixer fitted with the whisk beater until it is fluffy and creamy, then slowly sift in the powdered sugar, 1/2 or 1 cup at a time so it does not all fly out of the mixer. Once all the powdered sugar is added in, add the soy milk and vanilla. (I also added my food coloring at this stage)


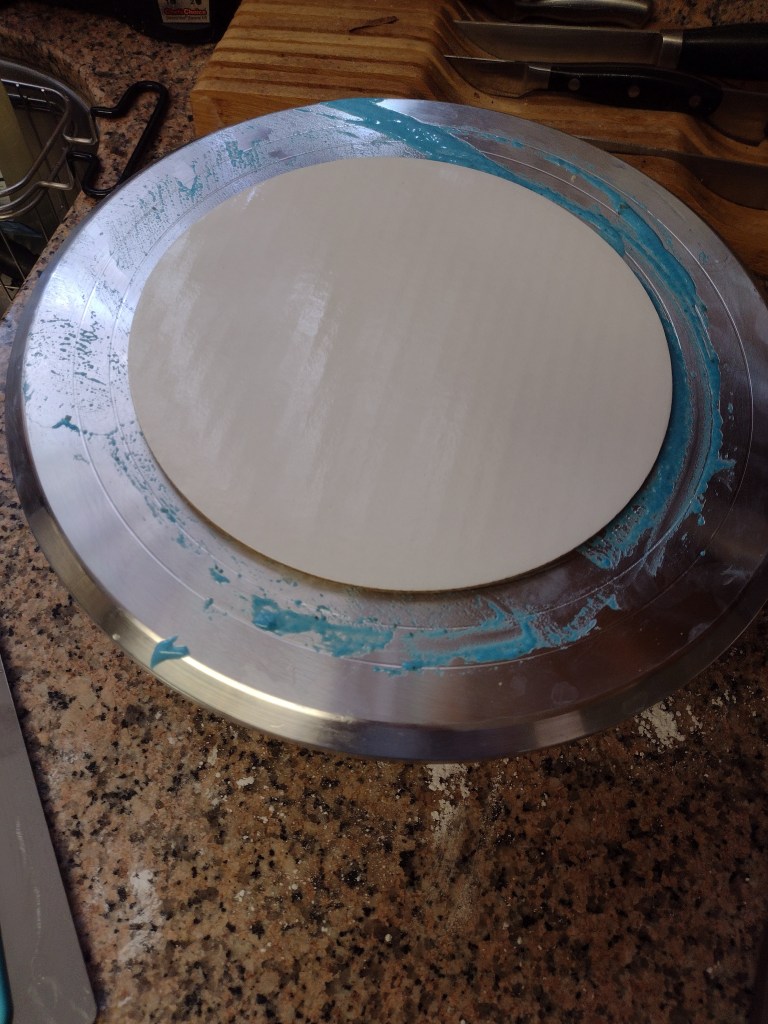
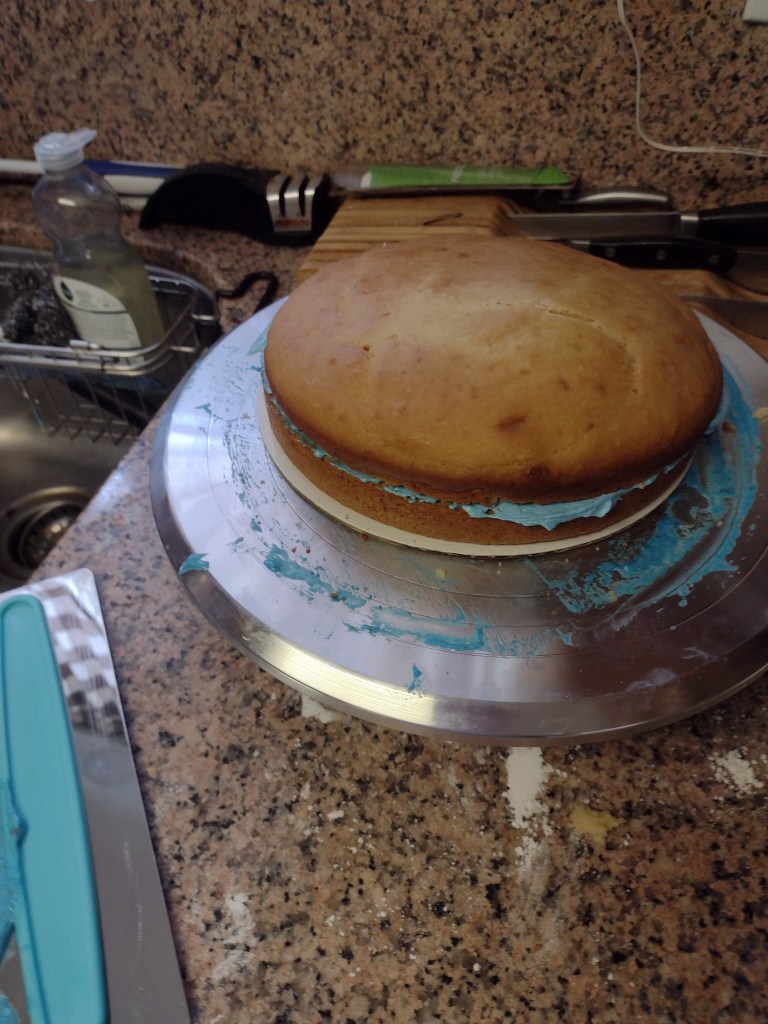
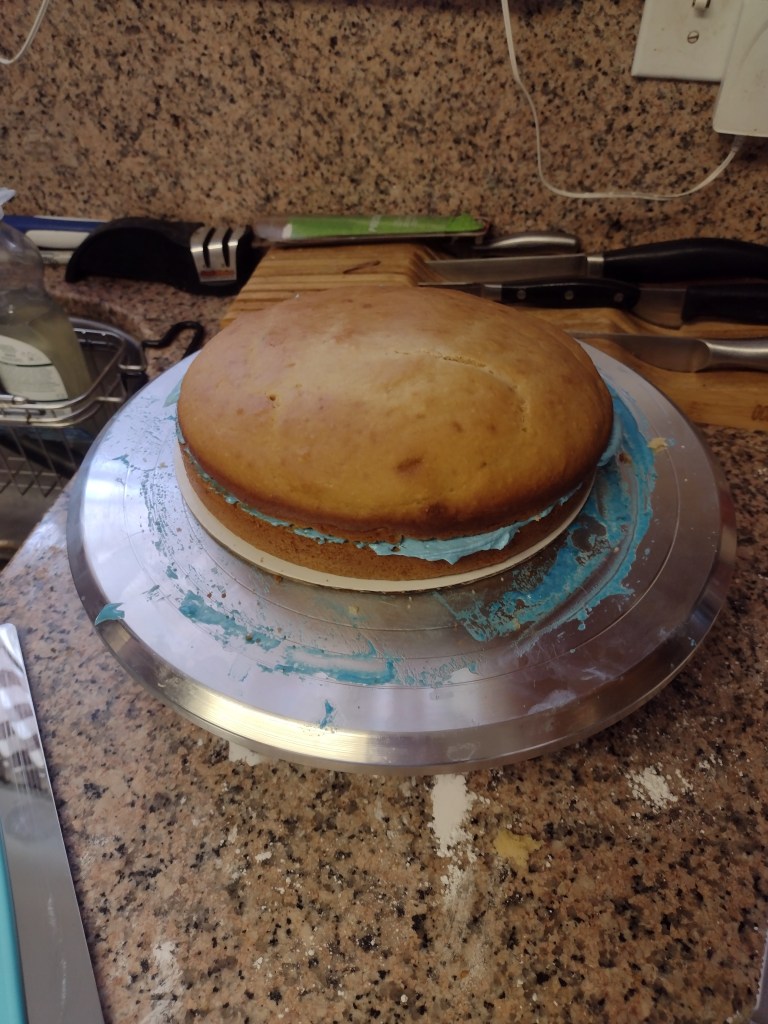
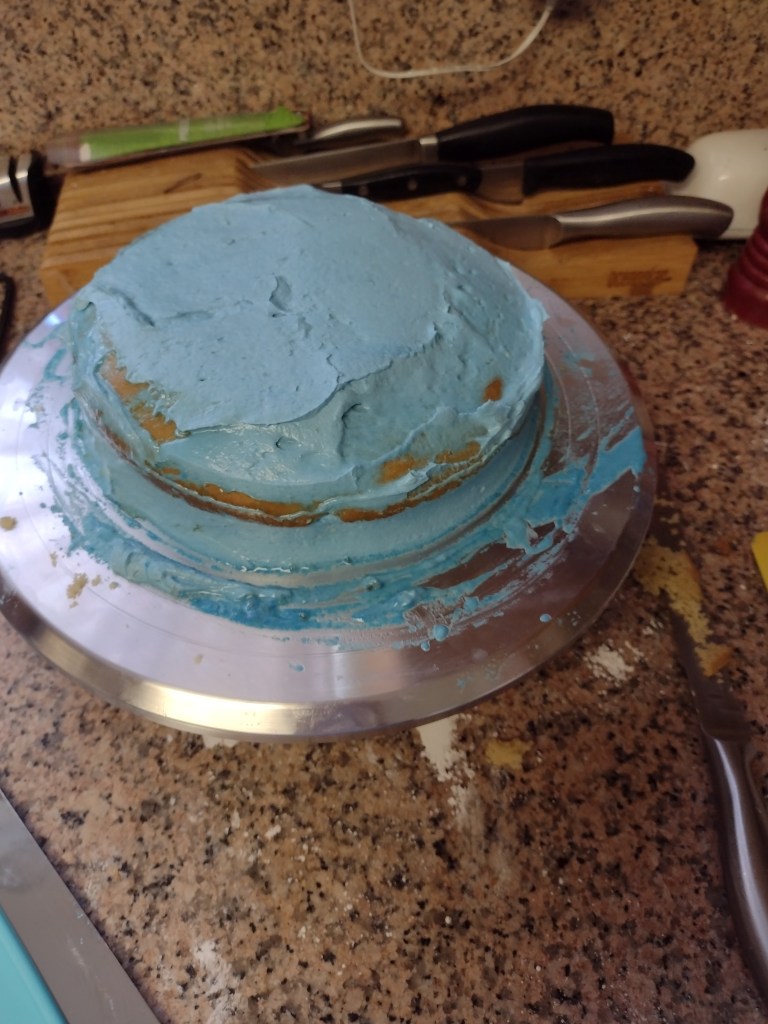
Slice your cooled cakes in half horizontally and place each cake on its own cake board. To make each tier, add about 1 cup of frosting to the middle of an 8″ cake. Spread it out so that it covers the entire area of the cake, then stack the second half of a cake on top. Lightly frost the cake, giving it a “naked cake” look. Once each tier is frosted, put them in the fridge to chill for a minimum of 10 minutes.
If you haven’t added food coloring yet, add it now into the remaining frosting (I separated a bit into a smaller bowl and added yellow food coloring for decorating later too). Put this frosting into a piping bag and refrigerate it.
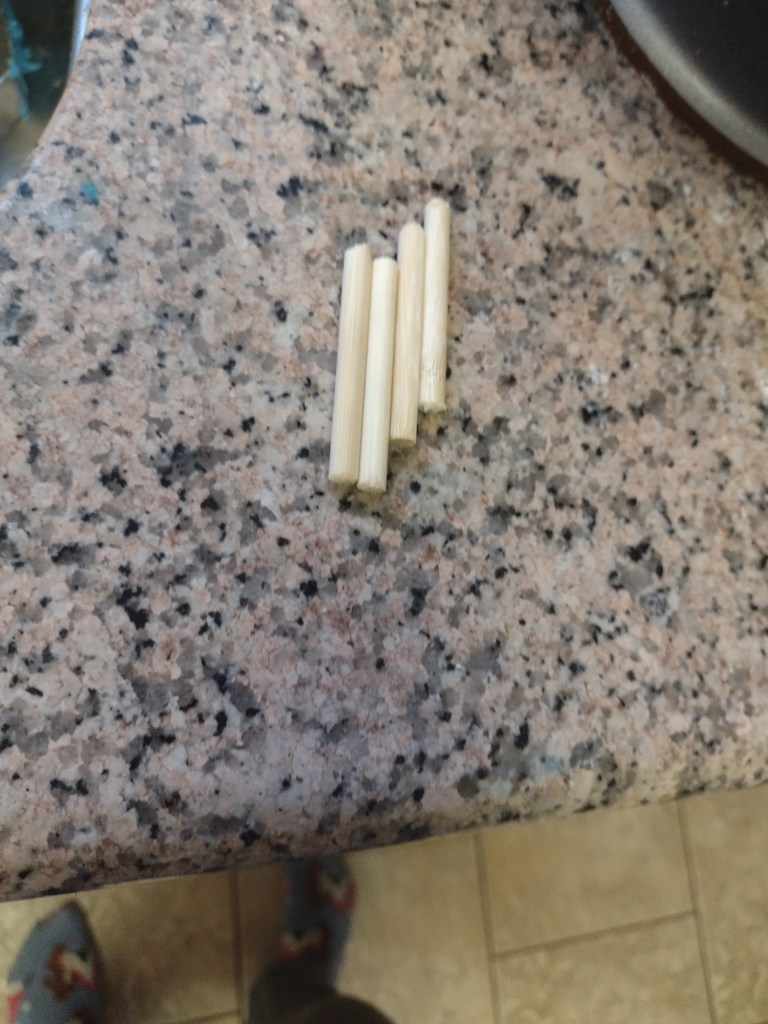
Take one of your larger tiers out of the fridge and measure how tall your cake dowel should be. Score and cut the dowel, return the cake to the fridge, and make three more dowels the same size. Repeat with the 6 inch cake, but only make two dowels.

Place an 8″ cake tier onto your desired cake plate or stand, placing two of the dowels towards the middle of the cake. Carefully place the second 8″ tier cake slightly crooked, and dowel this layer as well. Place a 6″ cake tier more towards the middle of the cake, and dowel it. Then finally, place the last tier on top, a tad crooked but enough that it will balance.
Remove your frosting bag from the refrigerator and pipe the colored frosting on the creases, and complete any additional decorating you want. The great thing about this cake is if it doesn’t turn out the prettiest, it still matches the vibe. If you’re feeling extra, use an uncut cake dowel to prop the top tier up like the broomstick the fairies use! Lastly, remember to take the dowels out of the bottom 3 tiers when serving.